I was recently commissioned to create a replica of the Witch King of Angmar's helmet from Lord of the Rings, as usual my first step was to build up a reference library, taking screenshots form the films was my main source for this project. Next I drew up some blueprints:
I first made a cardboard mock-up of the pieces:
Once I was happy with the Witch King of cardboard the shapes they were transferred onto Sintra, I decided to use Sintra for this project since the helmet is so large it needs to be as light as possible for the wearer.
The head band that each piece sat on in the cardboard mock up was given a coating of resin both inside and out to strengthen it, the headband would work as a head form for me to wrap each Sintra panel around and when cooled the head form could just be popped back out.
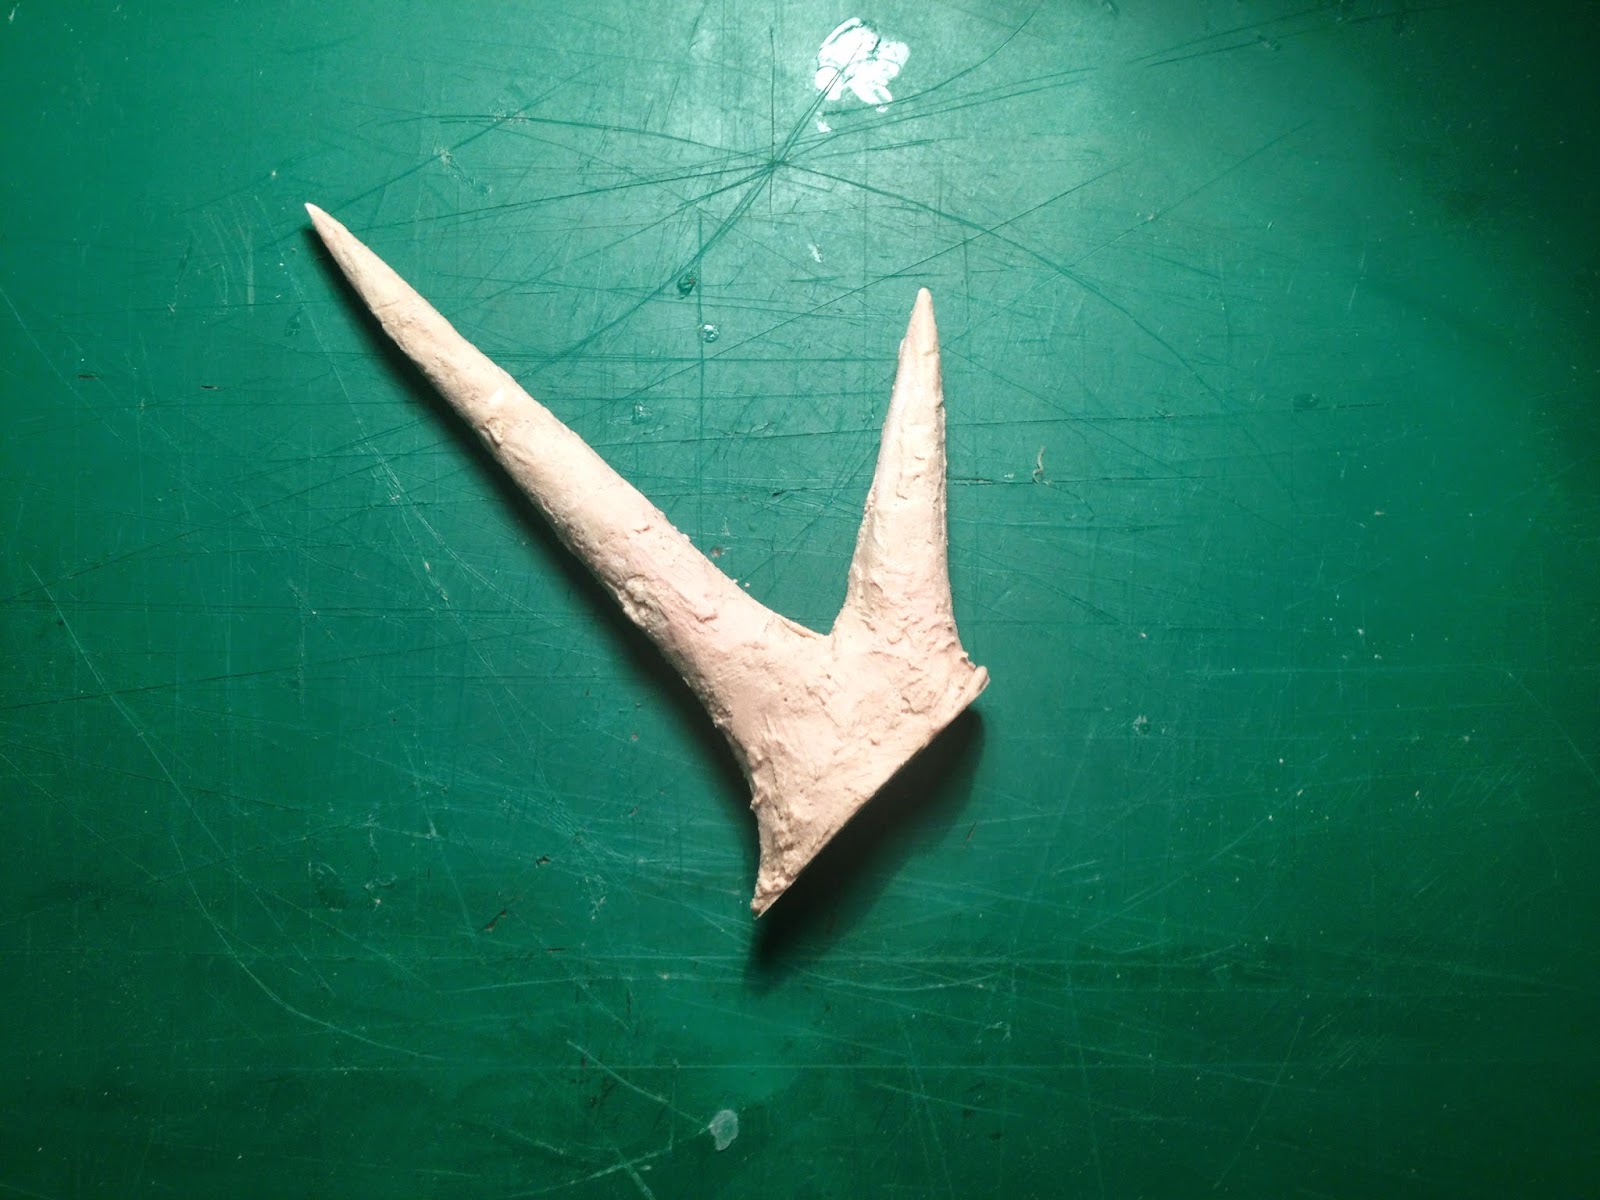
Whilst I waited for the large sheets of Sintra I needed to arrive I decided to get started on the antlers that adorn the band of the crown. Using my blueprints I drew out an antler and then created two slots in each prong, small discs were made to fit in each slot to as a guide to help me round out the antlers with bondo.
A few flaws were left in to help simulate the rough forged look of the helmet:
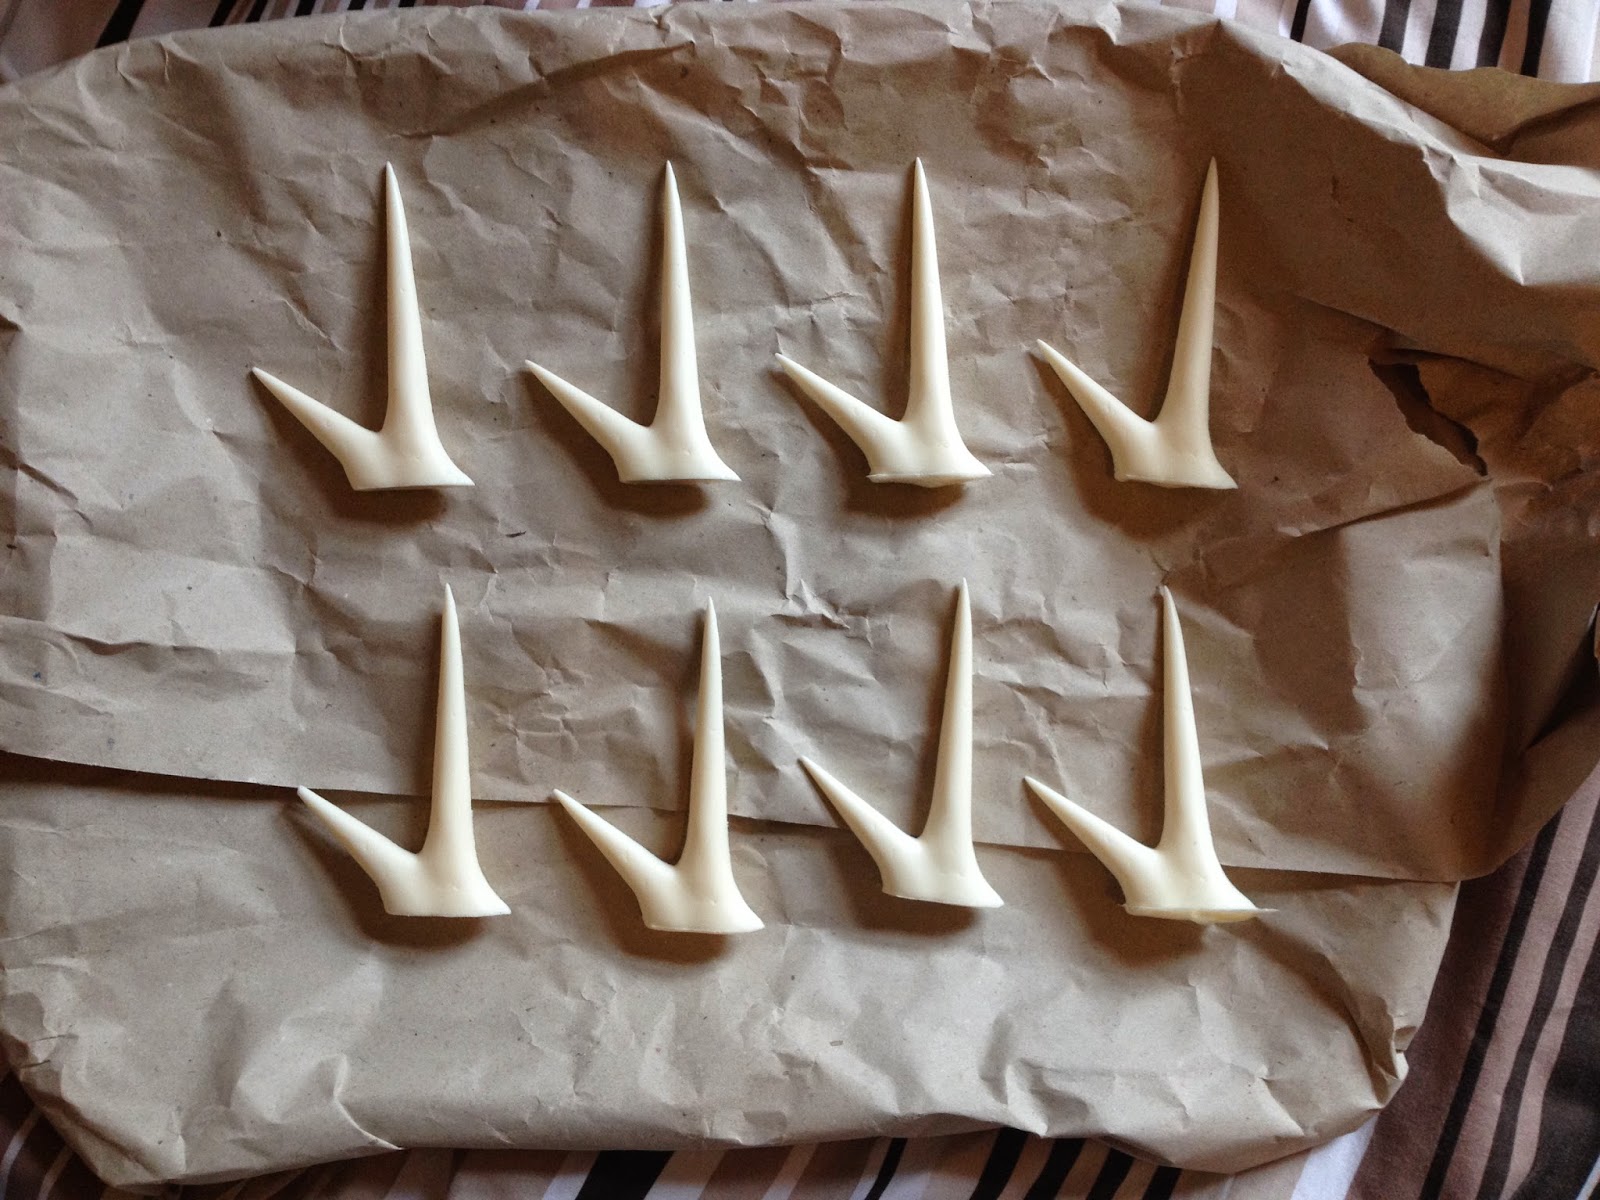
To save time I made a quick two part mould for the antler so that I could cast up 8 copies, the mould was made using rebound 25.
The mould came out extremely well and a test cast was poured in smoothcast.
I then cast up another 7 copies so that I had my full set:
My card templates were transferred to Sintra and using a heat gun were wrapped around the head form I made earlier.
To create the raised cheeks guides were made from scrap plastic that tapered from 1cm down to a small point at each scallop in the cheek wing shapes. These guides were tacked onto the surface using superglue and then coated with release agent. Filler was then applied to one side of each guide. Once the filler had cured the guides were peeled away and filer was added to the other side of the raised area, using the first side as a guide.
The crown band was chamfered at this point using 6 guides to bring the bottom of the band out 5mm, a small tool was made out of styrene to bevel the underneath of the band evenly. The battle damage/rust holes were drawn out and then cut out using a model knife. The areas surrounding the holes was sanded to make the cuts look less fresh and clean.
The last main feature to add to the helmet was the brow accents, these were made using the same 2mm sintra I used for the rest of the build. The edges were rounded and the pieces were heated and pressed to the helmet to achieve the same curve. They were then glued down and filler was used to blend them into the surface.
The four bolts on the side of the helmet were attached and then I began texturing the surface, this was done by stippling a thin layer of filler on the surface and randomly smearing filler to achieve an uneven surface without losing any detail. This was sanded down slightly to give a smoother feel, the antlers were attached and blended into the helmet at this point as well.
The client wanted to paint the helmet themselves so the helmet was coated in layers of red primer and was finished.
And a shot of the helmet painted by the client:


.jpg)
No comments:
Post a Comment