Showing posts with label helmet. Show all posts

Monday, 31 October 2016

Suicide Squad Sharkhead Thug


I was commissioned to replicate one of the masks worn by the thugs accompanying joker in the Suicide Squad film, the helmet is fairly basic in shape and design so rather than sculpt anything and make hard copies I created the shapes using foam instead.


I created a foam helmet pattern almost the same as a motorbike helmet in shape, once I was happy with the pattern I cut the pieces out of EVA foam and used contact adhesive to attach them together, The seams needed to be nice and flush on this helmet as it was going to be covered in fabric and any raised seams would show through the fabric covering. The raised seams were given a light pass over using the sanding drum on my dremel and then smoothed further with 240 grit sandpaper. 


I pinned a piece of 4 way stretch material to one side of the helmet to draft all the shapes and placements for the eye holes, my final fabric was going to be a 4 way stretch material so I needed to pattern with a similar material to make sure it would lay the same way in the final fabric, once I was happy with the placements these pieces were transferred to pattern paper for the fabric and a thin card for the pieces that needed to be cut out using a blade.


I created a card template to make sure the vision holes would all line up correctly, unlike tougher materials such as leather stretch fabrics move and flex with the force of hole punch pliers, so to make the holes in this I used a hollow punch tool and mallet with a piece of scrap leather underneath to get a clean cut in the fabric.


The fabric cover was next stitched together and then the seam was splayed open and tacked down at the ends and in a few other spots to keep the seam flat for a smoother appearance. I used contact adhesive to bond the centre seam of the fabric to the helmet, I started from the lip under the chin and worked my way along a couple of inches at a time. I pinned the glued fabric to the foam along the seam allowance to keep it in place as I went, keeping the seam of the fabric in line with the seam of the foam so that I knew it was maintaining a straight line.

Once the glue had dried I applied a thin layer (thin enough so that it doesn't seep through the fabric and leave a mark) of glue to the area of the fabric where the vision holes were punched and secured them down doing one side then the other, by only putting glue on the fabric rather than both the foam and fabric the glue doesn't grab the material as it is meant to immediately so there is time to shift the fabric where needed to make sure both sides are lined up, once that had dried I worked my way along the lip gluing under the helmet doing one side from front to back and then the other side. Working with stretch material if you pull and stretch the material too much and go around in a circular motion when you get to the end you can end up with bunched up excess material because it has been stretched too much, doing one side at a time you can make sure the fabric is stretched evenly.


Once all the glue had fully dried I drilled the holes through the foam using the pre-punched holes in the fabric as guides, this is why the holes were fixed down with glue, so that they stay lined up with the holes in the foam. I used my dremel with a diamond ball burr bit to drill through the foam as they gave a cleaner cut than a standard drill bit. The dremel speed was set at 20 RPM, any slower resulted in a rough hole and any faster was hard to maintain good control. Vision was... okay, it was hard to see things close up but better from a distance so walking was fine, just don't try read with it on haha. After this padding was added to the interior to fit the client.


The final piece of the mask was the shark teeth, these were cut from a large A3 sheet of craft foam, this larger sheet was thicker than the smaller A4 sheets of craft foam which added a little more strength and dimension to the teeth as they stood out straight rather than flopping down onto the surface of the helmet similar to the original helmet. As the mouth is white I sealed the teeth with a few layers of white plastidip to make it easier to maintain a clean white finish. The teeth where then adhered in place onto the helmet and it was finished!


Wednesday, 16 April 2014

LOTR Witchking Helmet


I was recently commissioned to create a replica of the Witch King of Angmar's helmet from Lord of the Rings, as usual my first step was to build up a reference library, taking screenshots form the films was my main source for this project. Next I drew up some blueprints:


I first made a cardboard mock-up of the pieces:


Once I was happy with the Witch King of cardboard the shapes they were transferred onto Sintra, I decided to use Sintra for this project since the helmet is so large it needs to be as light as possible for the wearer.

The head band that each piece sat on in the cardboard mock up was given a coating of resin both inside and out to strengthen it, the headband would work as a head form for me to wrap each Sintra panel around and when cooled the head form could just be popped back out.


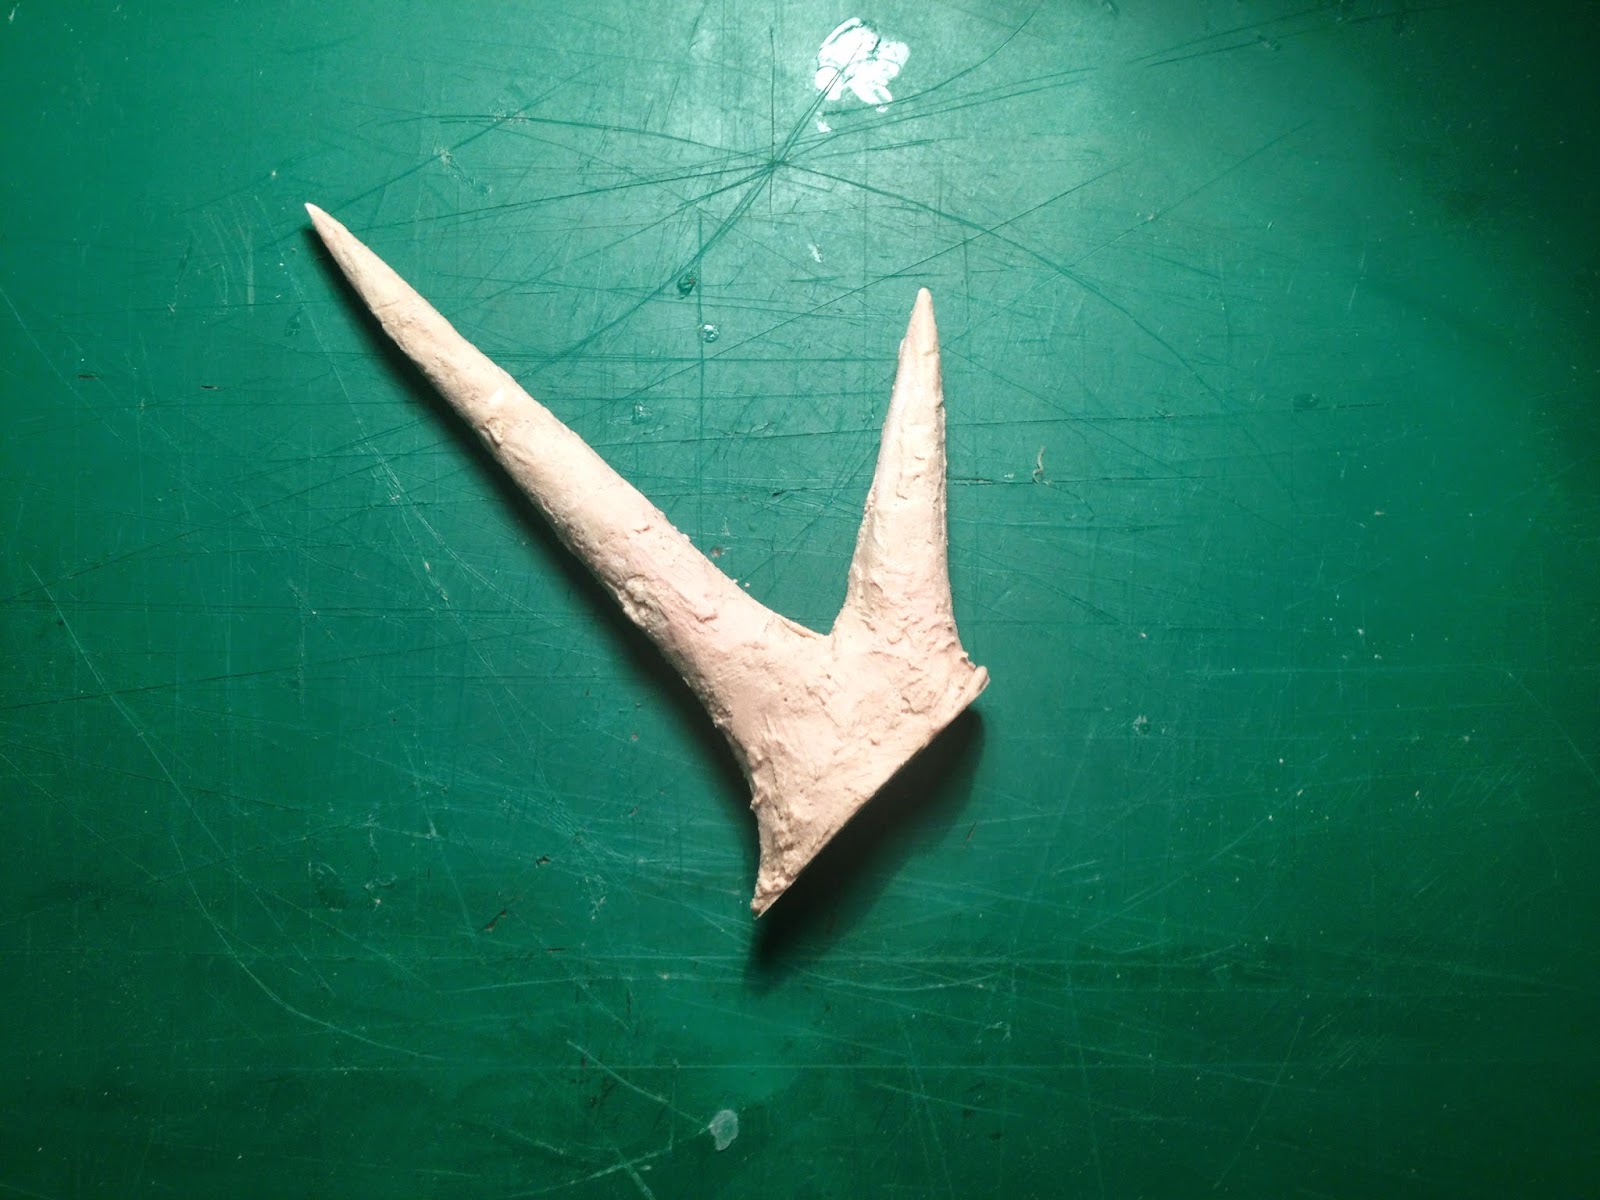
Whilst I waited for the large sheets of Sintra I needed to arrive I decided to get started on the antlers that adorn the band of the crown. Using my blueprints I drew out an antler and then created two slots in each prong, small discs were made to fit in each slot to as a guide to help me round out the antlers with bondo. 


A few flaws were left in to help simulate the rough forged look of the helmet:


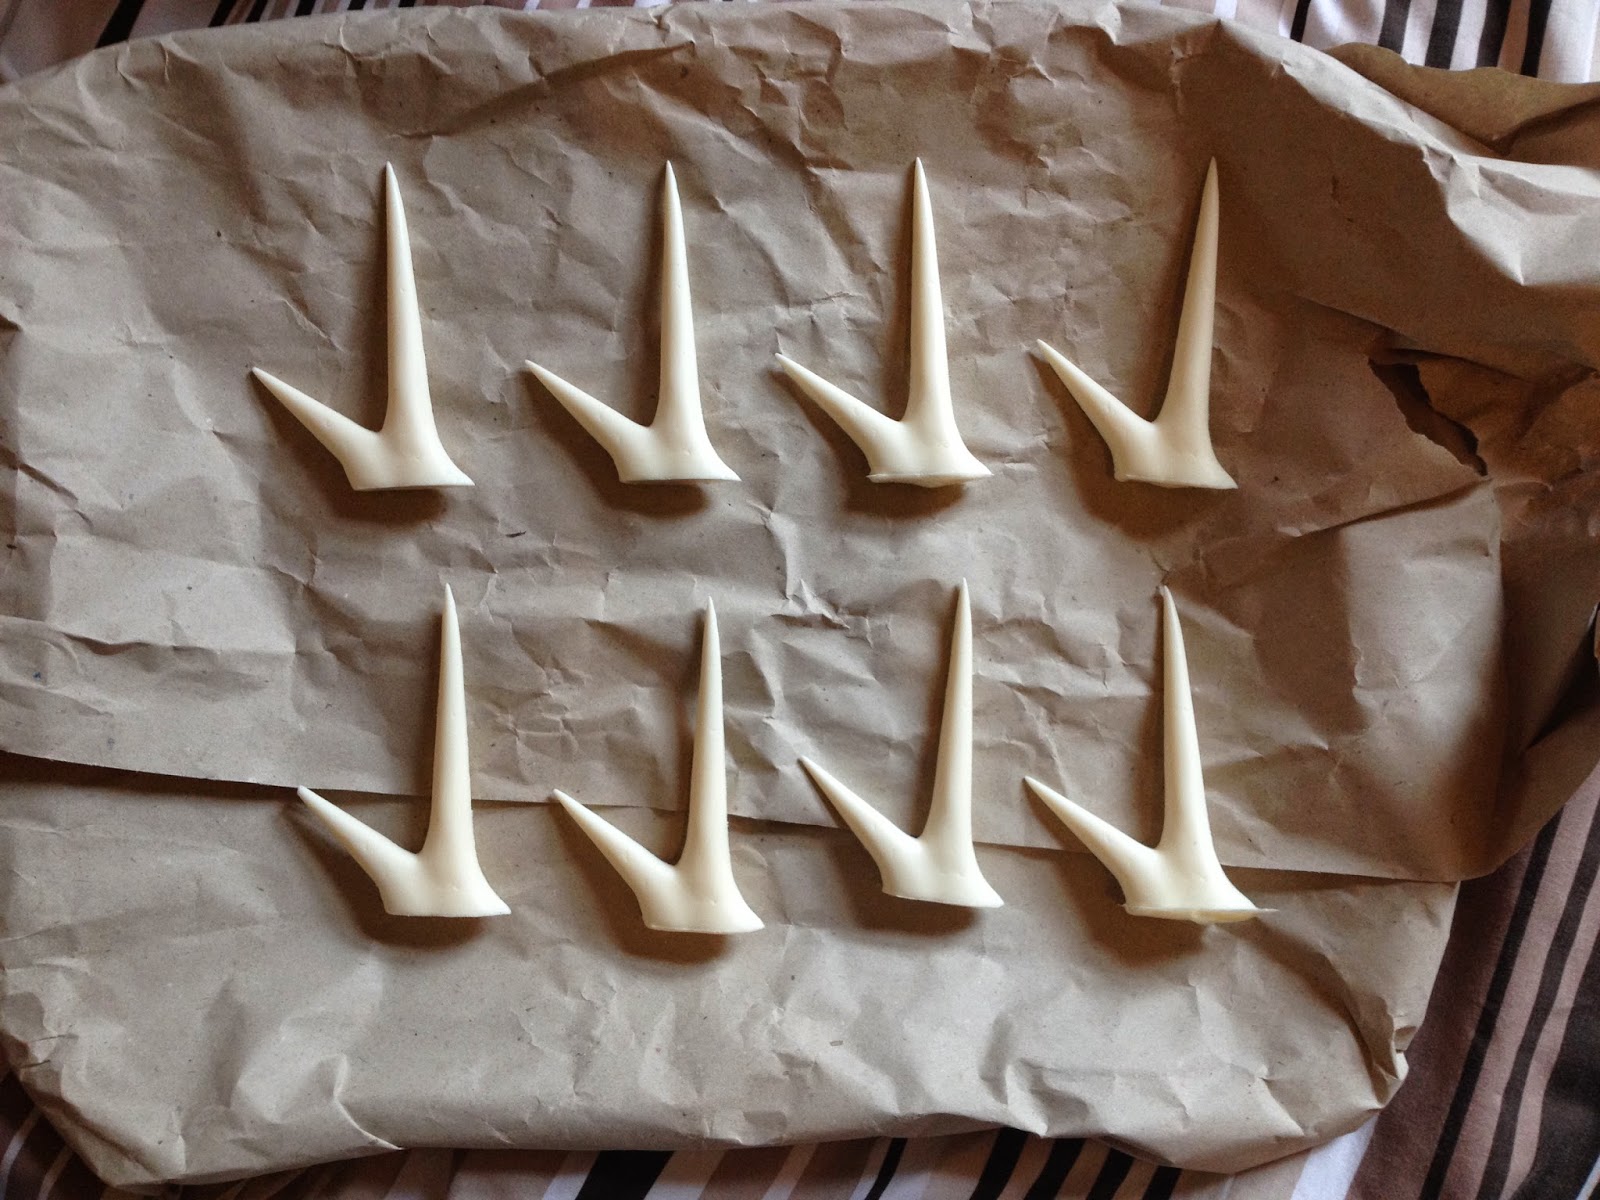
To save time I made a quick two part mould for the antler so that I could cast up 8 copies, the mould was made using rebound 25.


The mould came out extremely well and a test cast was poured in smoothcast.


I then cast up another 7 copies so that I had my full set:


My card templates were transferred to Sintra and using a heat gun were wrapped around the head form I made earlier.


To create the raised cheeks guides were made from scrap plastic that tapered from 1cm down to a small point at each scallop in the cheek wing shapes. These guides were tacked onto the surface using superglue and then coated with release agent. Filler was then applied to one side of each guide. Once the filler had cured the guides were peeled away and filer was added to the other side of the raised area, using the first side as a guide.


The crown band was chamfered at this point using 6 guides to bring the bottom of the band out 5mm, a small tool was made out of styrene to bevel the underneath of the band evenly. The battle damage/rust holes were drawn out and then cut out using a model knife. The areas surrounding the holes was sanded to make the cuts look less fresh and clean.


The last main feature to add to the helmet was the brow accents, these were made using the same 2mm sintra I used for the rest of the build. The edges were rounded and the pieces were heated and pressed to the helmet to achieve the same curve. They were then glued down and filler was used to blend them into the surface.


The four bolts on the side of the helmet were attached and then I began texturing the surface, this was done by stippling a thin layer of filler on the surface and randomly smearing filler to achieve an uneven surface without losing any detail. This was sanded down slightly to give a smoother feel, the antlers were attached and blended into the helmet at this point as well.


The client wanted to paint the helmet themselves so the helmet was coated in layers of red primer and was finished.


And a shot of the helmet painted by the client:


Saturday, 8 June 2013

Guy Manuel - Random Access Memories


After building both of Daft Punk's helmets last year I learnt an awful lot, they were my first large scale project and with them came a whole array of new techniques and materials I hadn't used before. After looking back on them now after learning all these processes I felt I could do a much better job on these helmets and with the new album came the new helmet design for Guy Manuel giving me an opportunity to begin again.


Research and pre planning was something that needed to be built upon vastly compared to the last time I attempted this so I scoured the internet for reference photos and built up a small library. I was able to use the different shots I found to create technical drawings in Illustrator. I overlayed my work onto multiple photos of Guy's helmet until it matched well in all the profile and front on shots I had and I was confident it was accurate. 


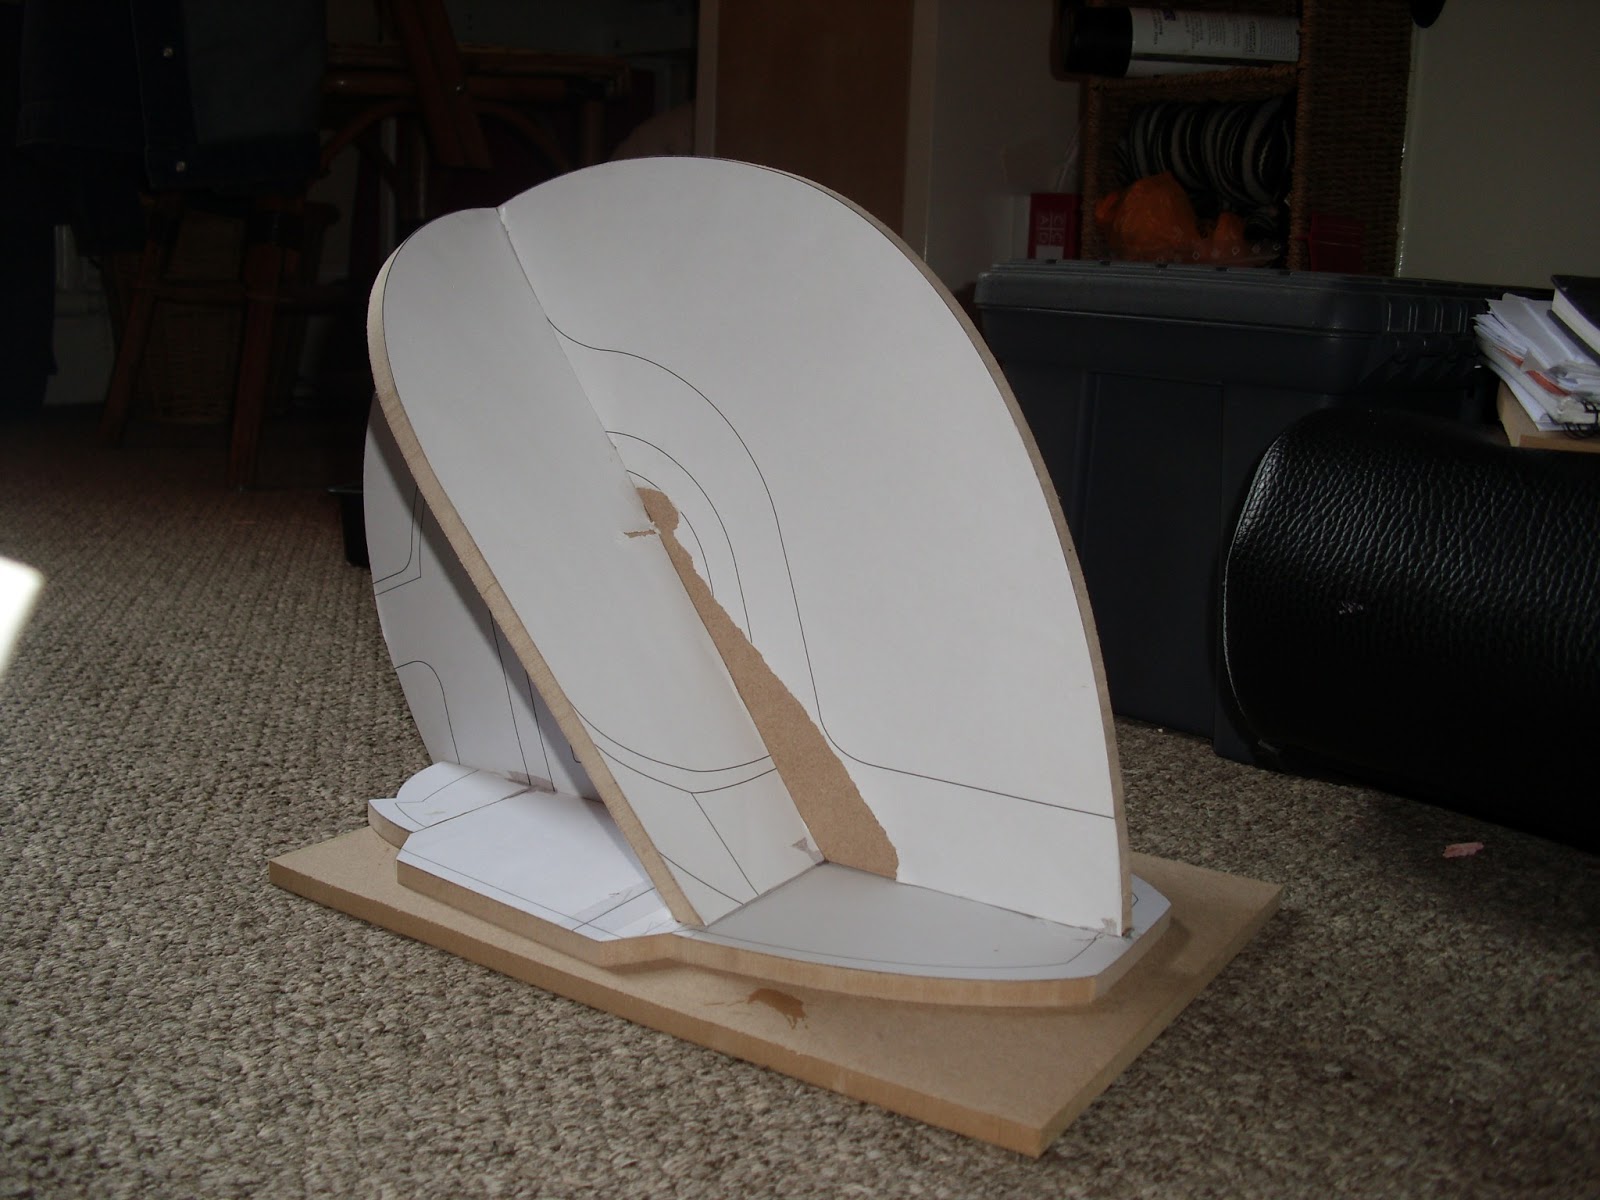
To test scaling I first printed the design onto card, luckily I had scaled it to the correct height on first go... I think. So I was ready to transfer the plans to MDF.


The pieces were all slotted together and held together from the tight joins so glue wasn't really necessary, but I tacked a few of the joins with superglue to make sure nothing shifted whilst I worked on it.


Blocks of carving foam were glued onto the MDF and shaped with a rasp and sandpaper to get the rough overall shape. Once that was done the foam was sealed using resin before I added the first skim of Body Filler.


A mounting point for the ear detail was made using more filler and an MDF form, I used this as a reference point for the curvature of the rest of the helmet, here you can see the back almost finished and how the front needs building out to match the ear base.


The main form is now finished and the placement for the raised detail has been sketched onto the surface with the aid of paper templates created from my vector blueprint, they can be seen a little clearer if you enlarge the photo. Some of the jaw area was left unfinished at the bottom as this will be covered by the raised detail .


After sampling a few ideas I did a few material tests to find a way to attach my guides strongly but temporarily so that they could be removed without leaving marks all over the nice pretty dome. A painters tape I had was easy to peel off without leaving a mark so I used that as a base to attach the plastic guides. 


The guides were made to the correct curvature by using a tile shaping tool I re purposed as a curve guide, I simply placed it on top of the pencil guides and then drew round the curve it created onto the plastic sheet.


Once the guides were in place all I had to do was fill them with filler, I decided to do this in two sections so I will work on the front half first, then make guides for the back half so that I can focus on one area at a time.


The front of the helmet has taken shape now and the back form has been roughed in.


The back half has now been filled and smoothed, my templates were used to make sure each side was symmetrical and the next stage will be to engrave the lines around the back dome.


The engraved detail in the back section of the helmet was first drawn out in pencil and then templates were made using a few scraps of plastic, the plastic templates were temporarily taped to the surface to stop them from shifting whilst I used a scribing tool to mark the lines in the surface, these shallow lines were then deepened using a miniature file. Using plastic templates helped give me get a level and symmetrical line straight away.


The back section was bevelled with a small tool made from styrene and the last of the engraved detail was then added to the sides.


After checking my reference photos I realised that I had made the bottom edges of the raised detail too thick and thinned them down to the same width as the rest of the raised detail.


The next piece I made was the neck guard, the shape was cut out of styrene and a spacer was added to the edge to give the right depth. I then taped the edges down to create a hinge, the plastic piece was covered in filler and then squashed down and the excess filler was scraped away.


Sanded smooth.


I created a 3D file and technical drawing of the ear pucks as I don't own my own lathe so I will need to outsource for this part of the build.


The ear surrounds were the next piece to be made, I laminated pieces of MDF together to the required thickness and cut the shape out on a bandsaw. The recessed area was drawn out and holes were drilled for the jigsaw to cut through.


Before cutting out the front I used a router to recess the back of the surround to create the insert for the circuitboard detail.


A holesaw was used to cut out the curved top, luckily the local hardware shop had one the exact size I needed ! after that the centre was cut out using a jigsaw.


Outer edge was then angled using a chamfer bit and router.


I laser cut my circuit board patterns out of 2 mm acrylic and glued them inside the ear surrounds, I then backfilled the inside with filler to strengthen the pieces ready for vac-forming. Now I can start spot filling whilst I wait for the plastic for the vac former to arrive.


The ear surrounds are now attached to the helmet and the details have been finished, now I can prepare my moulding supplies whilst I wait for my ear pucks to be delivered.


The ear pucks came in and I got a few coats of primer on them and wetsanded them smooth.


The helmet has been given its coats of primer with a light sand in between coats ready to be wet sanded once the last coat is fully hardened.


The ear pieces have been attached and the whole helmet has been wetsanded from 600 grit up to 1500 grit to get it nice and smooth ready for moulding.


Using a block of foam I laminated two pieces together to create a platform for the helmet to sit on and allow enough space to get to the detail underneath. A skirt was added to the bottom of the helmet from styrene sheet to make the resin casts easier to finish.


Print coat


After another layer of normal silicone the first thickened layer was applied.


After another few layers the registration keys were applied all over to make sure the silicone mould would lock into the fibreglass mother mould.


The Mother mould frames were made from MDF and the Mother mould was made using a layer of fibreglass tissue to catch the detail and then a few layers of fibreglass Matt to build up wall strength.


The skirting worked well and created a neat overspill for the resin making trimming the casts straight forward.


The mould came out great ! The engraved lines and circuit-board detail came out nice and sharp. The mould is now ready for its first casting.


Nervously watching as the final layer cures....


Aaaaand the first cast ! other than a few dinks in the visor area (which will be removed anyway) the cast came out really well and after learning from the first use of the mould I think the next cast will come out better.


And here's a spiffy looking chap modelling my helmet cast to check fit and scale, looking pretty good I think !